

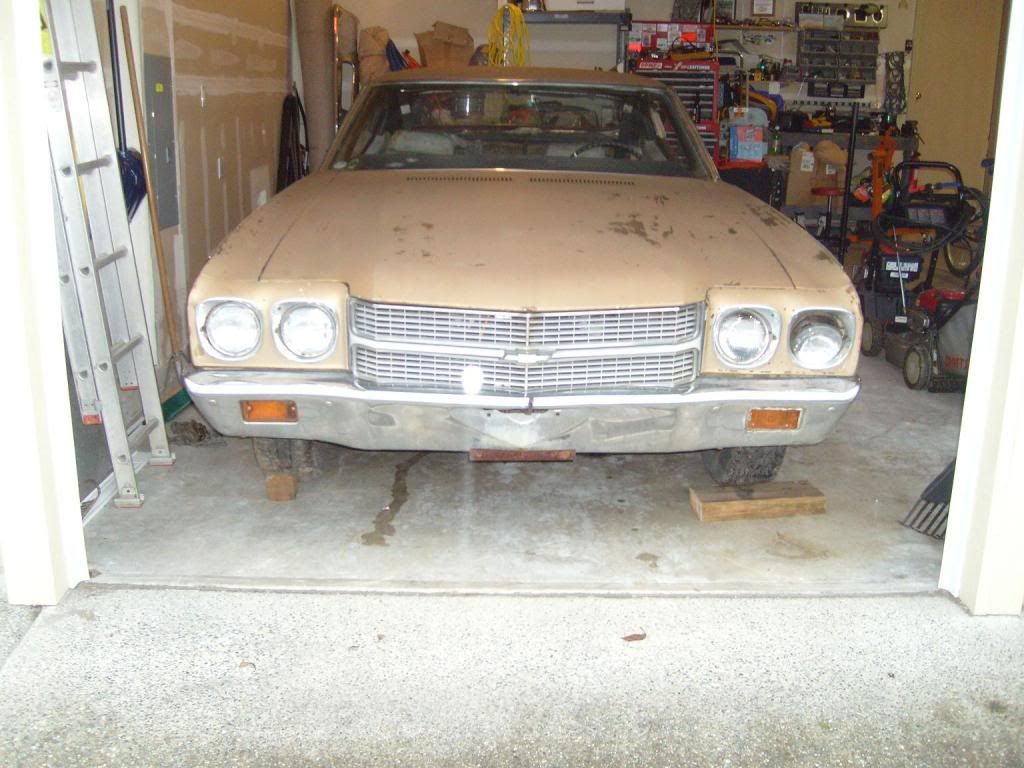
I thought I would share my build thread. After my daughter passed away in 2008 after a 2 1/2 year battle with cancer ( she was 18) I needed something to keep me occupied and my mind on something else. So I decided to get another Chevelle to restore. I had previously restored a 1969 SS, sold it in 2005. Anyway I took the plunge in Dec 2008. Mind you I have never did any bodywork or welding prior to this car.
This is what I started with...

Brought home and put it in the garage:
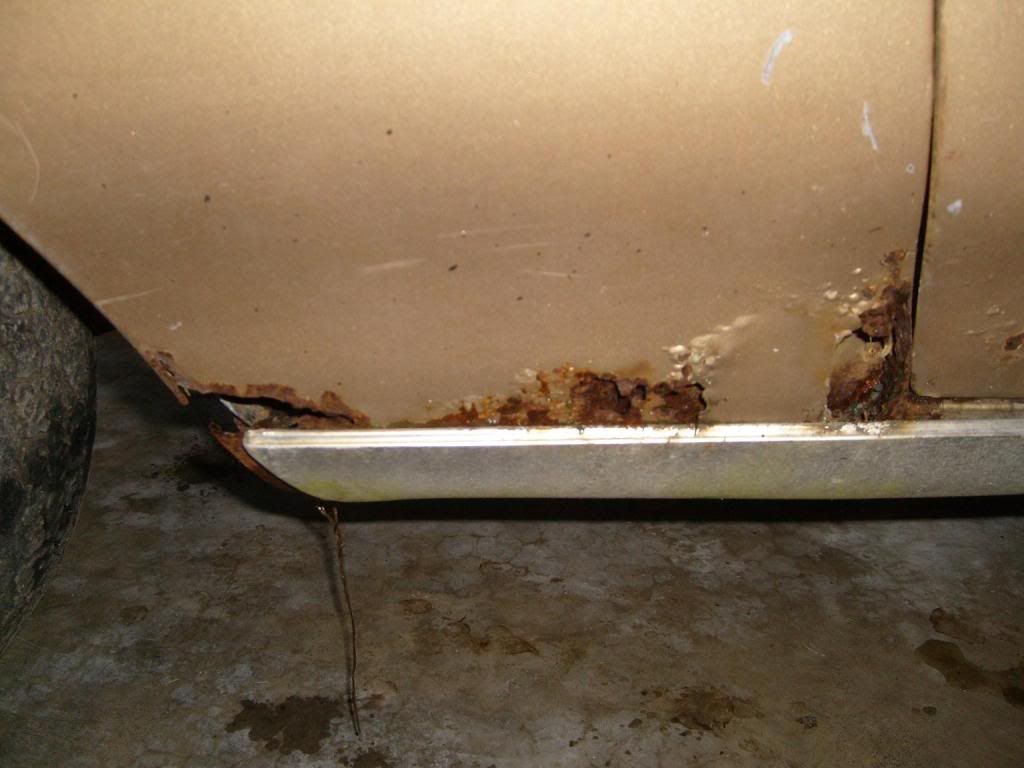
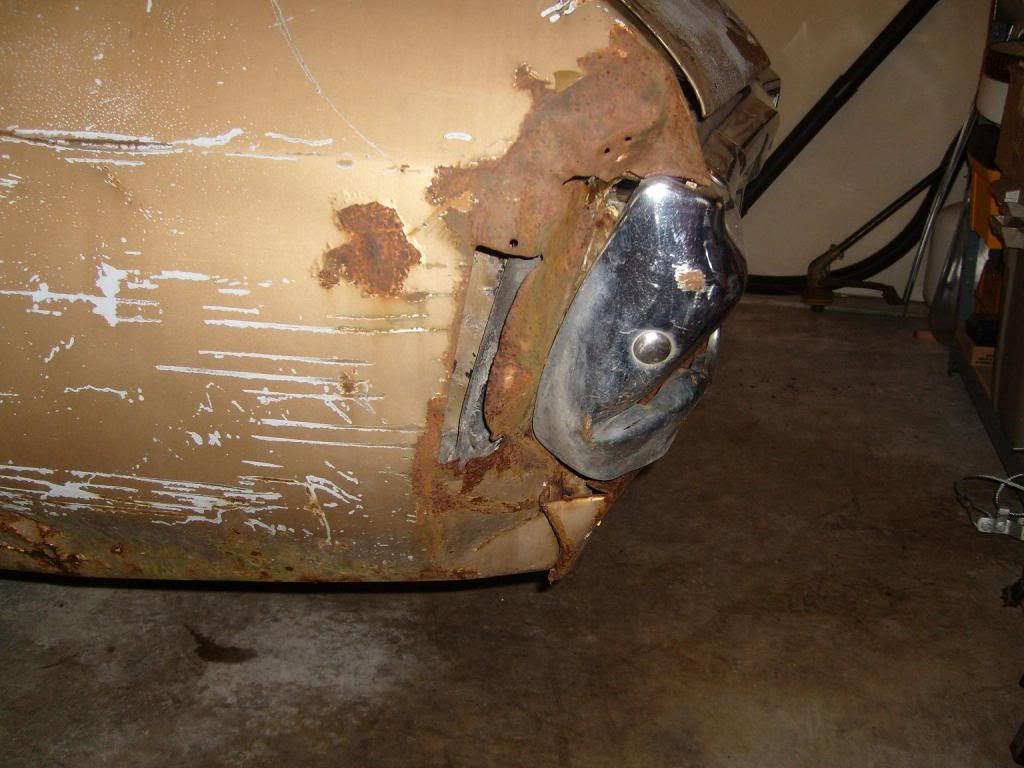
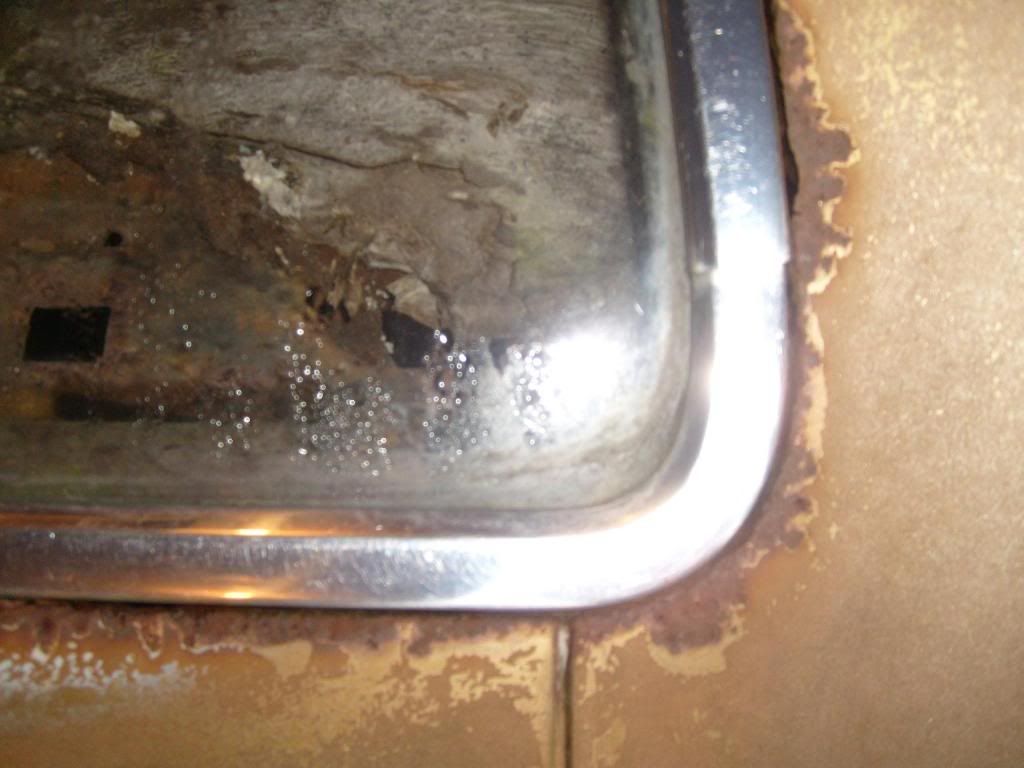
The damage:


This is what I started with...

Brought home and put it in the garage:

The damage:


 :
:


