Team Chevelle banner
1 - 20 of 23 Posts

mulletruck

· Registered
Joined
·
27 Posts
Discussion starter · #1 ·
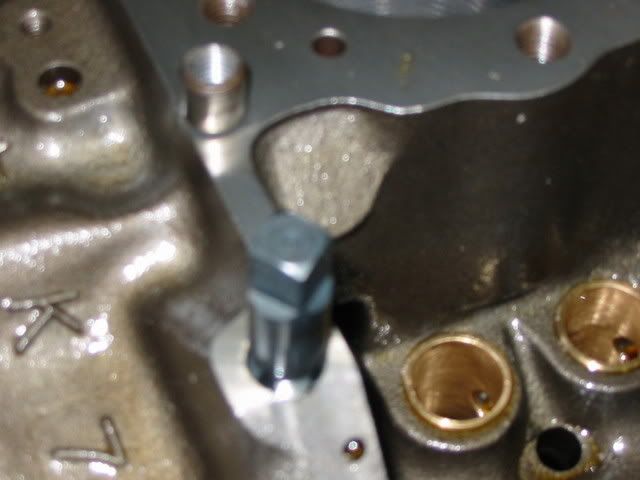
I'm finishing up the restoration of a 63 327-340hp motor and everything was going great until the starter was installed..The short block and heads were done by a reputable shop that's done all my other motors, and all the way up through setting the valve lash it turned over easily by hand.

Put it on the break-in stand, installed a stock style starter and it cranked slowly - barely enough to try and fire. I thought it might be a weak battery or starter and swapped those out. Seemed to get a little worse even. But the oil system was primed, timing was ok, none of the pushrods were binding, so I kept at it. Even tried a hi-torque DB Electrical starter and it actually took several teeth off my new Hays flywheel! :(

Today I tore it down in reverse hoping to find some interference - starter clearance, flywheel, balancer, timing chain, etc all fine. Scoped the bores - they look ok too. But rotating assembly will still not turn by hand.

Drained the Brad Penn oil and dropped filter, which looked fine except for some very fine filings on the tip of the dipstick (magnetic dipstick!?)

Any ideas before I pull the pan and drop some caps? Could the bores be too dry and seizing the pistons? Incorrect end play or thrust seizing the crank?

Its turned over maybe 50-75 revolutions max since all this started and never fired, so not much could have happened in that short time, I hope.

This is the first motor I've assembled that's ever had to come apart, and I'm a little embarrassed to admit it...
 
So it was turning over easily by hand right up until you fitted the starter motor? If so, it can't be the bearings or bottom end then. Does it still turn over easily by hand? A new motor that hasn't yet been fired will turn over slowly if the battery is not up to scratch. The other problem is that you might need to shim the starter to get the proper pinion engagement in the ring gear. It sounds like the pinion is too deeply engaged and may be binding.
 
what if you pulled the plugs, does it spin free then
at first thought you used to long of flywheel bolts on a flex plate, but by Hayes, i assume its a stick flywheel, but ck the bolts anyway and make sure their not hitting the block behind the FW
was the engine oiled well before assemb
you might just have to start rem stuff untill it spins free again
 
Discussion starter · #6 ·
Thanks guys. Starter/flywheel was the first thing checked. Right now the timing chain, flywheel, riming cover, etc are off and the only thing connected to the crank is the rotating assembly - still can't turn by hand.

So its either piston/bore interference, bottom end bearings, or mechanical contact like crank to block.

I'm pulling the pan in a few minutes...hope its not major. Spent so much time detailing this one only and to have to send it back to the machine shop for rework would really hurt!
 

Attachments

It should turn with 20-30 ft lbs for just the rotating assembly, with no compression, ie, no heads, or no plugs.

I went through this on my 350, several times. Everything plastigaged perfectly, with two different cranks. Still had a sticky spot turning it over.

Took to a machine shop and they honed one main saddle, fixed it.

Put it together and it stuck again. I had swapped two rod caps! Swapped them back and all was fine.

It has now run 7k miles and has good oil pressure, etc.
 
Discussion starter · #9 ·
Oh ****!

Its bad...Started by loosening the rear main cap, still nothing. Progressively loosened the remaining caps going forward..No luck.

Removed the #1 main and it was gouged and full of debris. All 5 mains are like this, as is the one rod bearing I removed too. The crank is junk.

If you look closely, there are what appear to be small round beads of steel shot - like the oil galleys weren't cleaned out thoroughly after it was shot blasted. Or maybe a piece of casting disintegrated. You can see them on the outer edge of the bearing, and near the mating surface of the cap.

We've never had anything like this come from the machinist before - he's meticulous. Just got off the phone with him and he wants to finish the disassembly of the short block to figure out what went wrong.

Wow...that ruins my month!
 

Attachments

Oh man that sucks. I love a good machininst, but always clean everything I get back thoroughly. Always seem to get some crap out of the oil galleys after block work and tank job.
 
Sorry to hear about the misfortune, but yes you should always reclean everything 2 and 3 times to make sure nothing comes out the oil passages.

Was the block shot peened or just soaked and run in spray washer?

Hope everything works out.
 
Re: Oh ****!

Its bad...Started by loosening the rear main cap, still nothing. Progressively loosened the remaining caps going forward..No luck.

Removed the #1 main and it was gouged and full of debris. All 5 mains are like this, as is the one rod bearing I removed too. The crank is junk.

If you look closely, there are what appear to be small round beads of steel shot - like the oil galleys weren't cleaned out thoroughly after it was shot blasted. Or maybe a piece of casting disintegrated. You can see them on the outer edge of the bearing, and near the mating surface of the cap.

We've never had anything like this come from the machinist before - he's meticulous. Just got off the phone with him and he wants to finish the disassembly of the short block to figure out what went wrong.

Wow...that ruins my month!
A lot of those old blocks ther is a plug under the left head near the top of the block and some blocks have pressin plugs in that location. That being said those plugs have to be removed to be able to clean that oil galley out. If its not removed that is NOOOOOOOOOO way that oil galley can be cleaned !!!

I see alot of lazy machine shops in just my area where they don't take the time to do the job right.

Here is a pic of that area and the pic is taken from the other side of the block.

Image
 
Discussion starter · #15 ·
Sorry to hear about the misfortune, but yes you should always reclean everything 2 and 3 times to make sure nothing comes out the oil passages.

Was the block shot peened or just soaked and run in spray washer?

Hope everything works out.
That's the killer - the machinist assembled the bottom end. I always have him prep the short blocks since he has much more precise equipment than I do, and he can correct anything as he sees fit. I'm just an assembler :p

I'll tear it down Monday and get it back to him...I guess the split window won't be on the road for awhile.
 
Discussion starter · #16 ·
Re: Oh ****!

A lot of those old blocks ther is a plug under the left head near the top of the block and some blocks have pressin plugs in that location. That being said those plugs have to be removed to be able to clean that oil galley out. If its not removed that is NOOOOOOOOOO way that oil galley can be cleaned !!!

I see alot of lazy machine shops in just my area where they don't take the time to do the job right.

Here is a pic of that area and the pic is taken from the other side of the block.
He did remove that plug, but now that you mention it, another thing that bugged me was that he had Helicoiled the hole above the oil filter boss (the pipe plug on the outside lower corner of the block) with a coarse thread insert. Its supposed to be pipe thread. If he missed that, I guess he could have missed recleaning the crank too...
 
Another place I have seen steel shot get traped is where the old oil canister bolt went in the center of the oil fitler pad.

On your adaptor its a good idea to plug the bypass.

They may have not brushed out all the oil galley holes on e thing is for sure they over looked cleaning the block properly!!!!
 
1 - 20 of 23 Posts