

I thought I would start a new thread so that others can find information with the search function. It seems as though there is quite a bit of interest in this conversion and I thought it would be kind of neat to do what Todd did and post a progress report as I go.
The goal is to run 5.80’s on a stock bottom end 5.3 and a single turbo. If I can get it all to fit under a stock SS hood then I plan to do that and put my rally rims back on in an attempt to somewhat make this a sleeper. I also want to try and completely do this conversion with the finances being provided strictly from the selling of all my big block chevy engine parts. I will post what I was given for my parts and the price that I paid for each item. In addition to that I have talked the wife into spending $300 per month if I am able to work for any additional funds. That’s the key. It can’t come out of our normal monthly funds. I think that’s fair. The more I work the more I can spend type of deal. I am not going to just try and get things as cheap as I can. If I have to pay a little more for the convience of being able to purchase something right here in my home town, then I plan to do just that. I have already sold my heads, intake, and headers. Of course this is assuming the heads were not damaged.
One of the racers here has a recycling salvage yard. He called me today and said he has a 2002 suburban with the 5.3 with less than 60,000 miles. I went up there and it started right up, no leaks, smoking etc.. I get everything to include wiring harnesses, etc.. for $700. He said he gets 5.3 pretty often but the 6.0’s are not as often and are closer to $1200. Several people have already pm’d me stateing I can reach my goal with the 5.3. So that information with the fact I have a place 3 miles from my house to get them means this will be the foundation. He also, stated that he will take $50 off the price each time I have to purchase one down to $450. These are for low mileage engines. Higher mileage is a lot cheaper but for a couple hundred difference, I think I prefer the low mileage deal.
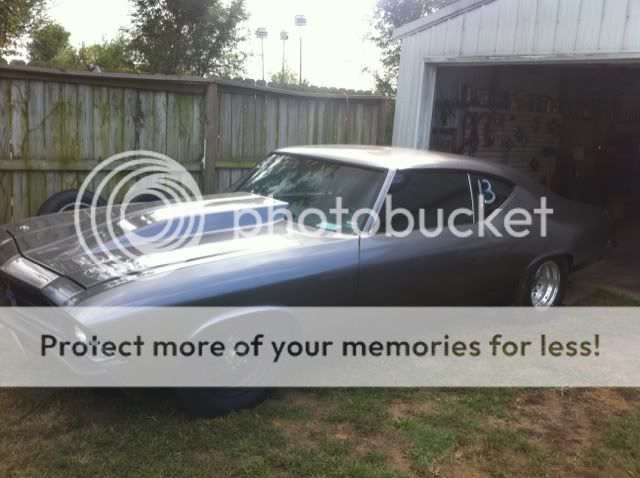
Here are the first set of pictures from day 1. This is the donor vehicle and pics of the new foundation 5.3. The picture of the engine by itself is a different engine. I just posted it so you guys can see what I am getting in accessories. I will sell anything I don’t need off of it. I also posted a picture of my car while it sets there before I start to revive her once again. Notice the number I got for racing yesterday….13.
Any and all opinions are welcome.
Parts sold todate: Brodix RR ovals ported, Vic Jr. Intake ported, Hooker Ceramic coated headers. Package deal of $1800
Purchases: LS Complete Engine 5.3: $700
Black Death!
![Image]()
Engine bay before swap...
![Image]()
Donar Vehicle and New LS 5.3 Engine
![Image]()
![Image]()
![Image]()
This is a complete engine. Not the one I am getting but how complete it will be...
![Image]()
The goal is to run 5.80’s on a stock bottom end 5.3 and a single turbo. If I can get it all to fit under a stock SS hood then I plan to do that and put my rally rims back on in an attempt to somewhat make this a sleeper. I also want to try and completely do this conversion with the finances being provided strictly from the selling of all my big block chevy engine parts. I will post what I was given for my parts and the price that I paid for each item. In addition to that I have talked the wife into spending $300 per month if I am able to work for any additional funds. That’s the key. It can’t come out of our normal monthly funds. I think that’s fair. The more I work the more I can spend type of deal. I am not going to just try and get things as cheap as I can. If I have to pay a little more for the convience of being able to purchase something right here in my home town, then I plan to do just that. I have already sold my heads, intake, and headers. Of course this is assuming the heads were not damaged.
One of the racers here has a recycling salvage yard. He called me today and said he has a 2002 suburban with the 5.3 with less than 60,000 miles. I went up there and it started right up, no leaks, smoking etc.. I get everything to include wiring harnesses, etc.. for $700. He said he gets 5.3 pretty often but the 6.0’s are not as often and are closer to $1200. Several people have already pm’d me stateing I can reach my goal with the 5.3. So that information with the fact I have a place 3 miles from my house to get them means this will be the foundation. He also, stated that he will take $50 off the price each time I have to purchase one down to $450. These are for low mileage engines. Higher mileage is a lot cheaper but for a couple hundred difference, I think I prefer the low mileage deal.
Here are the first set of pictures from day 1. This is the donor vehicle and pics of the new foundation 5.3. The picture of the engine by itself is a different engine. I just posted it so you guys can see what I am getting in accessories. I will sell anything I don’t need off of it. I also posted a picture of my car while it sets there before I start to revive her once again. Notice the number I got for racing yesterday….13.
Any and all opinions are welcome.
Parts sold todate: Brodix RR ovals ported, Vic Jr. Intake ported, Hooker Ceramic coated headers. Package deal of $1800
Purchases: LS Complete Engine 5.3: $700
Black Death!
Engine bay before swap...

Donar Vehicle and New LS 5.3 Engine


This is a complete engine. Not the one I am getting but how complete it will be...


