About 3 years ago I decided to embark on this journey; build the baddest garage built p-t car that my skills and wallet would allow without farming out any work. “Skills” is a relative term for me since I’m a self taught 26 year old, married, father of two boys (2 years and 2 months). I’ve never had any official training, and while most who do everything on their own have an automotive background, I work for the Orange County Fire Authority as a professional firefighter. My job does require a vast mechanical knowledge, but that still doesn’t help me fabricate or paint. This has been a great learning experience so far and I can guarantee this; if its not done right the first time, I won’t stop until its perfect.
A little history; I originally bought the car when I was 16 and used it as my daily driver for both high school and college. I street raced the crap out of it, got a few tickets including an exhibition of speed for doing a massive burnout in front of a bus of cheerleaders, was yelled at a few times, then decided to grow up. Seeing the carnage that I see now makes me feel lucky to be alive and I feel like an old man every time I want to yell at some idiot kid doing the same things that I used to do.
Over the years, I built a new motor, rebuilt the trans and rear end, and took on numerous other projects. But, the car never felt complete and every time I attempted to change something about it, it ruined something I had done before. There were plans along the way for a new paint job, interior and a big block, but time passed and the money wasn’t there. It wasn’t until I had a stable career, the funds and had bought a house, that I finally decided to do it once and to do it right.
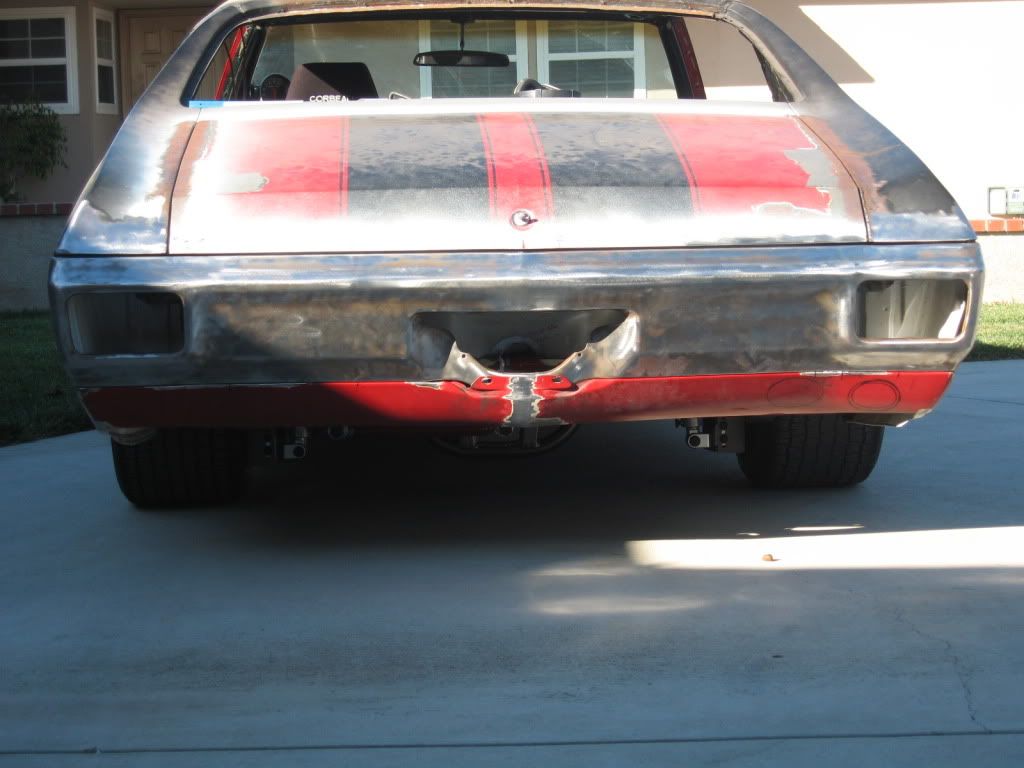
Below you will find the specs, pics and progress from my chevelle build. The car has come along way in the last 3 years and it still has a long way to go. The whole story isn’t in complete order and some pics may show things that haven’t been talked about, but you should be all caught up by the end.
Have fun reading, and I welcome any and all critiques and criticisms. It’s the only way I know how to learn.
-Build Specs-
-Motor-
- Wegner Built 416 or Warmed Up LS3 or Home Built LSX 454
- Autokraft Oil Pan & Motor Mounts
- Wegner Pulley System
- Edelbrock Stepped Headers
- Custom 304 Stainless Steel Full Length Exhaust with X Pipe
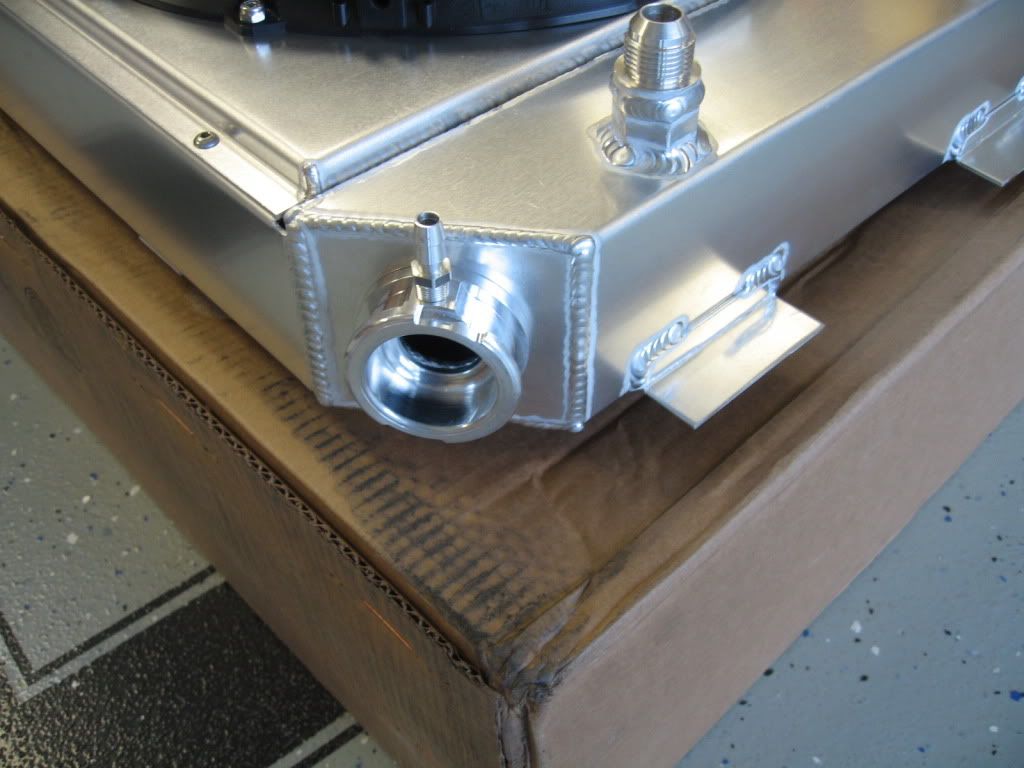
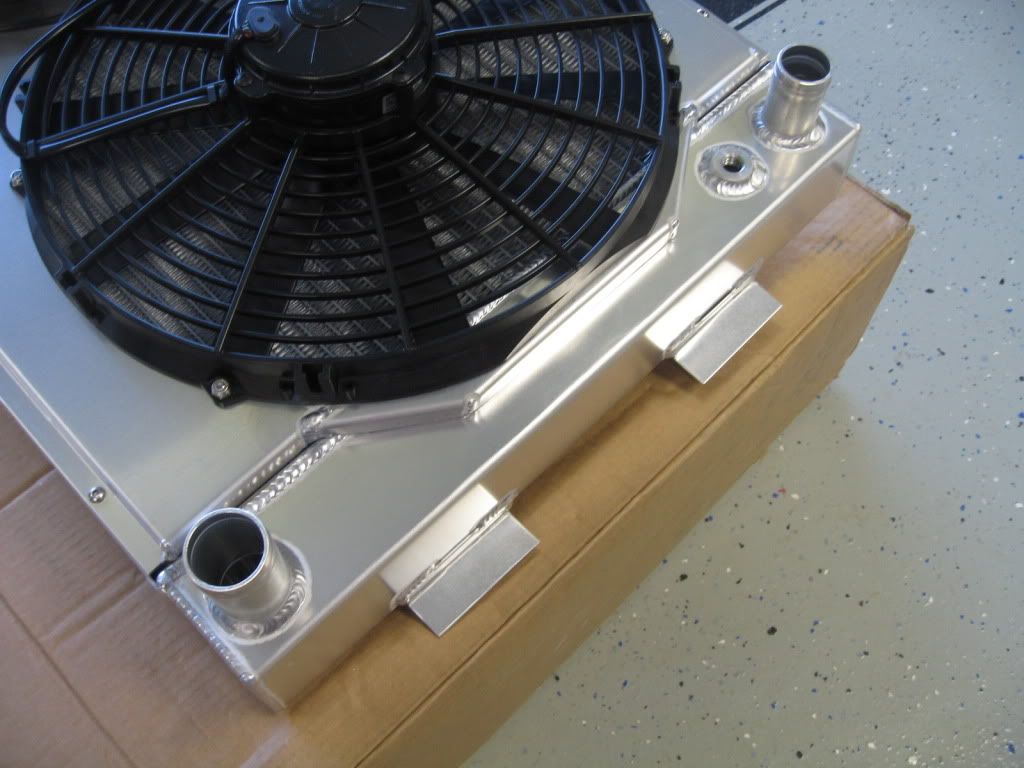
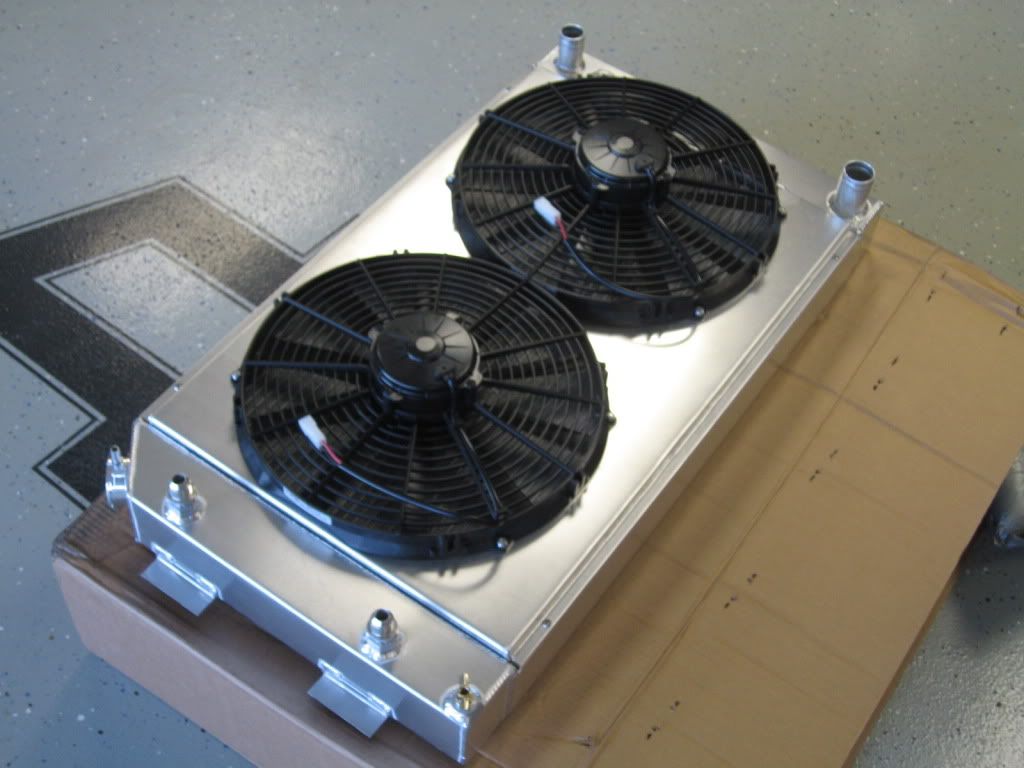
- Prodigy Radiator and Fans
-Suspension & Steering-
- ATS Billet Aluminum Spindles and Steering Arms (I got these a while ago)
- SC&C Front Upper Control Arms
- Global West Front LCA’s
- Varishock Coilover Rear Shocks
- Custom Parallel 4 Link Rear Suspension
- Custom Upper & Lower Rear Control Arms with Johnny Joints
- Custom Watts Link Axle Locator
- Currie Enterprises Performance Axles
- Custom ½ Height Body Bushings
- Tom Lee 670 Steering Box
- Ididit’s New Collapsible Steering Column (not just a collapsible shaft)
- Drivetrain -
- Tremec TKO - 600 5 Speed Transmission
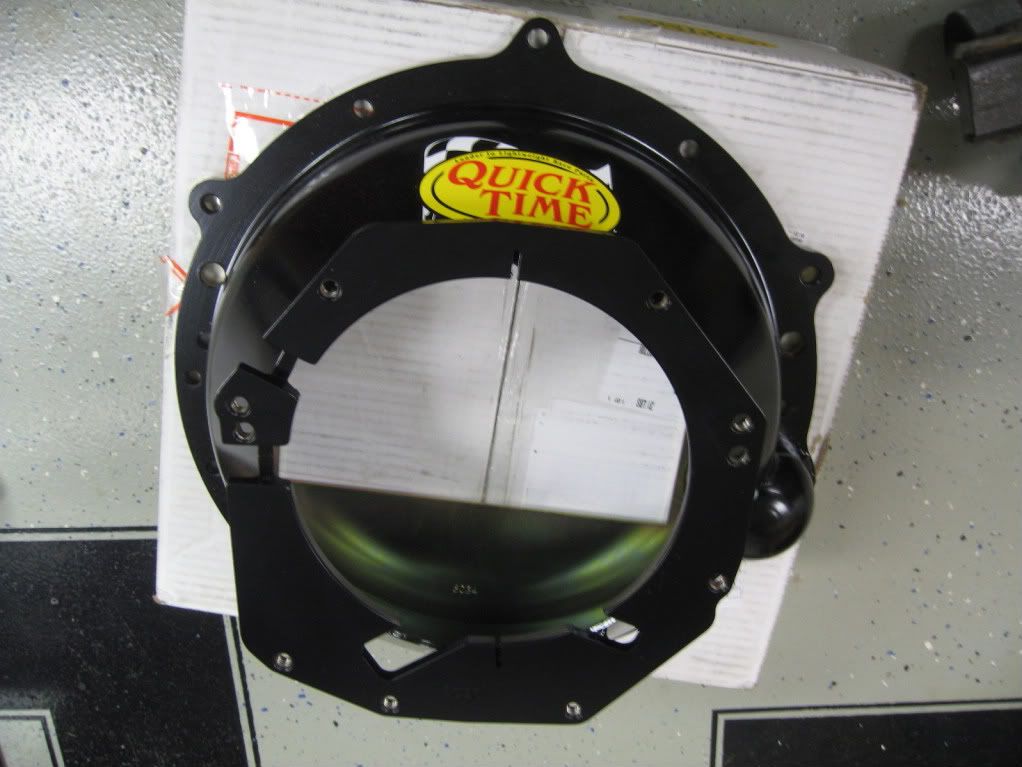
- McLeod Bellhousing
- McLeod Billet Aluminum Flywheel
- McLeod RST Twin Clutch
- Somebody’s Hydraulic T/O Bearing
- Denny’s Drive Shaft
- 1350 U- Joints
- Wheels & Brakes -
- 19” / 20“ Rushforth Wheels
- 275/35/19 and 305/35/20 Nitto Tires
- 14” 6 Piston Kore 3 Front Brakes
- 13.5” 4 Piston Kore 3 Rear Brakes
- DBA Rotors
- Wilwood Pedals and Triple Master Cylinders
- The Extra’s -
- ISIS Mutiplex Wiring System
- Vintage Air A/C
- Ring Bros Hood Hinges
- Ring Bros Hood Adjusters
- Ring Bros Door Strikers
Special thanks to the following:
Jason Rushforth – Wheels And Rendering
Jon Henderson @ Driverzinc - Numerous Parts And The Rushforth Wheels and Nitto tires. This guy knows his stuff and has been EXTREMELY patient with me.
Tobin @ Kore3.com – C6 Z06 Brake Kit Including the Parking Brake and the ability to pick his brain.
Mark @ SC&C – I’ve had many LONG conversations with him, but he supplied the ATS stuff along with the LEE box and SPC arms
A little history; I originally bought the car when I was 16 and used it as my daily driver for both high school and college. I street raced the crap out of it, got a few tickets including an exhibition of speed for doing a massive burnout in front of a bus of cheerleaders, was yelled at a few times, then decided to grow up. Seeing the carnage that I see now makes me feel lucky to be alive and I feel like an old man every time I want to yell at some idiot kid doing the same things that I used to do.
Over the years, I built a new motor, rebuilt the trans and rear end, and took on numerous other projects. But, the car never felt complete and every time I attempted to change something about it, it ruined something I had done before. There were plans along the way for a new paint job, interior and a big block, but time passed and the money wasn’t there. It wasn’t until I had a stable career, the funds and had bought a house, that I finally decided to do it once and to do it right.
Below you will find the specs, pics and progress from my chevelle build. The car has come along way in the last 3 years and it still has a long way to go. The whole story isn’t in complete order and some pics may show things that haven’t been talked about, but you should be all caught up by the end.
Have fun reading, and I welcome any and all critiques and criticisms. It’s the only way I know how to learn.
-Build Specs-
-Motor-
- Wegner Built 416 or Warmed Up LS3 or Home Built LSX 454
- Autokraft Oil Pan & Motor Mounts
- Wegner Pulley System
- Edelbrock Stepped Headers
- Custom 304 Stainless Steel Full Length Exhaust with X Pipe
- Prodigy Radiator and Fans
-Suspension & Steering-
- ATS Billet Aluminum Spindles and Steering Arms (I got these a while ago)
- SC&C Front Upper Control Arms
- Global West Front LCA’s
- Varishock Coilover Rear Shocks
- Custom Parallel 4 Link Rear Suspension
- Custom Upper & Lower Rear Control Arms with Johnny Joints
- Custom Watts Link Axle Locator
- Currie Enterprises Performance Axles
- Custom ½ Height Body Bushings
- Tom Lee 670 Steering Box
- Ididit’s New Collapsible Steering Column (not just a collapsible shaft)
- Drivetrain -
- Tremec TKO - 600 5 Speed Transmission
- McLeod Bellhousing
- McLeod Billet Aluminum Flywheel
- McLeod RST Twin Clutch
- Somebody’s Hydraulic T/O Bearing
- Denny’s Drive Shaft
- 1350 U- Joints
- Wheels & Brakes -
- 19” / 20“ Rushforth Wheels
- 275/35/19 and 305/35/20 Nitto Tires
- 14” 6 Piston Kore 3 Front Brakes
- 13.5” 4 Piston Kore 3 Rear Brakes
- DBA Rotors
- Wilwood Pedals and Triple Master Cylinders
- The Extra’s -
- ISIS Mutiplex Wiring System
- Vintage Air A/C
- Ring Bros Hood Hinges
- Ring Bros Hood Adjusters
- Ring Bros Door Strikers
Special thanks to the following:
Jason Rushforth – Wheels And Rendering
Jon Henderson @ Driverzinc - Numerous Parts And The Rushforth Wheels and Nitto tires. This guy knows his stuff and has been EXTREMELY patient with me.
Tobin @ Kore3.com – C6 Z06 Brake Kit Including the Parking Brake and the ability to pick his brain.
Mark @ SC&C – I’ve had many LONG conversations with him, but he supplied the ATS stuff along with the LEE box and SPC arms
")